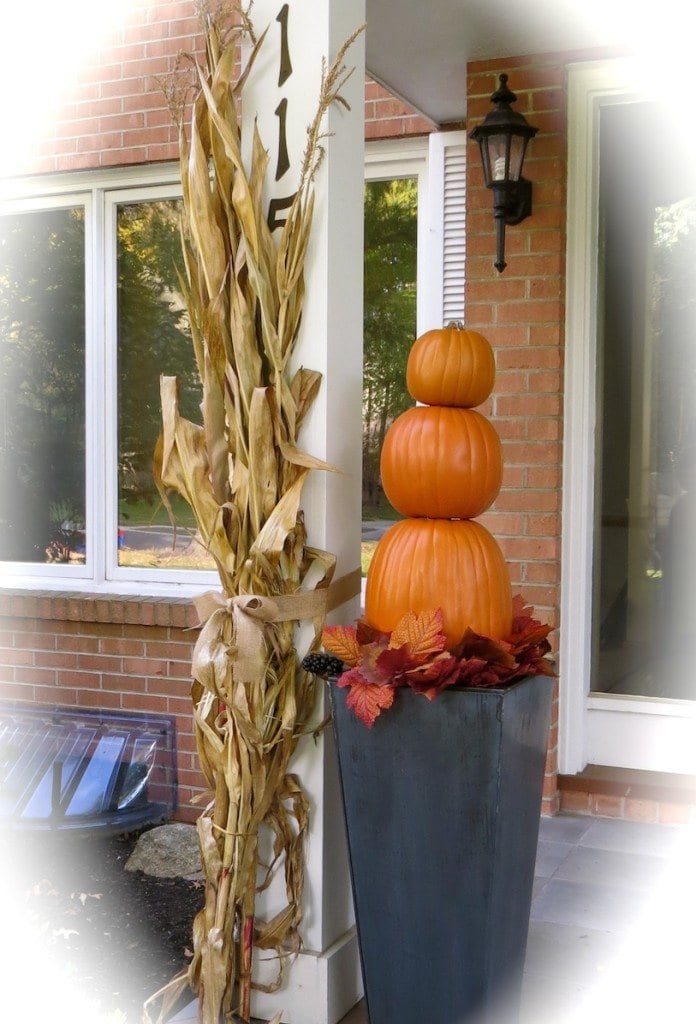
We love seasonal decor that is fun and crafty, but not so involved that you need to be Martha Stewart. This pumpkin topiary fits the bill—unique, simple and completely customizable.
This is what you’ll need:
Three fake pumpkins or “fun”kins‑you can find these in a ton of different colors and sizes. (FYI: They are all on sale for 50% off at both Joann Fabrics and Michael’s right now)
Garland of artificial flowers or other seasonal decoration of your choice
Box cutter
Bamboo skewers for use on the grill
Nail
Some sort of planter or pot—to hold the finished product
Floral foam bricks (enough to fit in the bottom of your pot)
Glue gun
Step 1. Select the pumpkins for the middle and top of the topiary and use the box cutter to cut holes in the bottom of both.
Step 2. Place the floral foam in the bottom of your pot, making sure it is firmly wedged inside.
Step 3. Using the nail, pop four holes into the bottom of the pumpkin that you have selected for the base of the topiary. Force the blunt end of the bamboo skewers into the nail holes and then place the base pumpkin into the foam-filled pot. Press the pumpkin down and make sure it is level inside the planter.
Step 4. Put hot glue onto the bottom of the middle pumpkin and firmly adhere it to the base pumpkin. Repeat this step for the top pumpkin to add it to the top of the topiary.
Step 5. Using bamboo skewers, press the artificial flower/leaf garland strand into the foam around the base of the pumpkin for a secure fit.
What we’ve created here is perfect for the whole fall season and will stay outside until the Christmas decorations come out after Thanksgiving. Best part? Stored safely in the basement or garage, this topiary will be set to go for years to come. And, if you are feeling really inspired, there are lots of variations on this topiary—done with paint, burlap ribbon, washi tape and Halloween or team-related swag , just to name a few.
From our (crafty) home to yours,
Amish Originals


